I needed to update a Cpanel Dynamic Domain Name Service (DDNS) entry automatically for a virtual machine (VM) that I manage, to allow a simple address to type rather than obtaining the new dynamic host configuration protocol (DHCP) from the VM’s command-line interface (CLI).
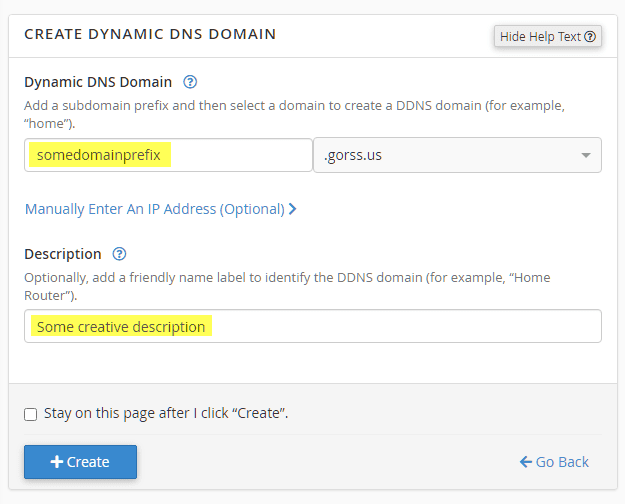
Our first step is to log on to the hosting domain’s Cpanel interface and select “Dynamic DNS” under the domains section. Then select “Create”. Here you will create the subdomain prefix for the new address you wish to be updated. Leave the “manually enter an IP address blank” as we will use this for testing later.
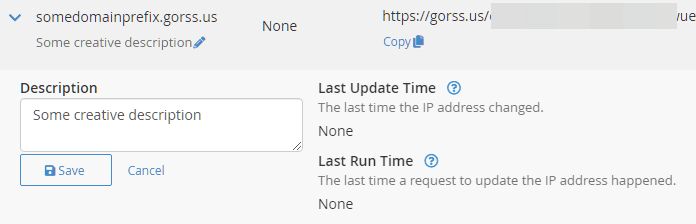
After the subdomain is created, you will be taken to the list page showing the new entry. Leave this page open, as you will need to copy the URL that is shown to copy into CentOS later and will use it to verify the updates are taking place.
Now log in to your CentOS server using an SSH interface. If you don’t have an SSH client, PuTTY has been around for ages and works quite well. The steps that follow next are for CentOS 7 or 8, using the systemd unit and nano editor. Every Linux admin has their preference for editors, mine happens to be nano.
sudo su - root
sudo nano /etc/systemd/system/updateddns.service
You will need to enter the URL from the Cpanel DDNS page we left open before under the [Service] section. You can copy and paste the data below to save time.
[Unit]
Description=Update Cpanel DDNS
Requires=network-online.target
After=network-online.target

[Service]
ExecStart=/usr/bin/curl https://gorss.us/restoftheurlhere

[Install]
WantedBy=multi-user.target
After the creation of the service and entering your Cpanel DDNS update URL, you will need to create the startup.
sudo systemctl enable updateddns.service
Now, this should start the service automatically upon server reboot. However, depending on your server’s security setup, your user account may not have permission to start services without entering a password. We can test this by trying to start the service manually.
sudo systemctl start updateddns
If you receive a prompt for a password, you will need to edit another file and give your sudo user account the NOPASSWD switch for this service. In the directions which follow, the “sudouser” is the name of the account you use for the sudo account; typically this means root is disabled at the command line and is a good security practice.
sudo visudo
Scroll to the end of the file and enter the following, using your sudo user account; again sudouser here is just a place setter and not the actual user.
sudouser ALL=NOPASSWD: /bin/systemctl start updateddns, /bin/systemctl stop updateddns, /bin/systemctl restart updateddns, /bin/systemctl status updateddns
Save the file, then switch to your sudouser account and test the commands again. You should no longer receive a prompt for a password, this will now let the updateddns service run on server reboot/startup.
su - sudouser

sudo systemctl start updateddns
sudo systemctl stop updateddns
sudo systemctl restart updateddns
sudo systemctl stop updateddns
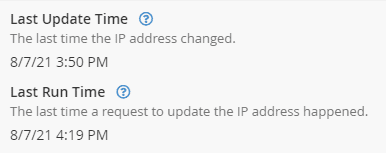
You can now check the Cpanel DDNS interface page we left open earlier, refreshing the page, and it should indicate the last update to the record.
You could also ping the new subdomain to validate the change also. If your primary domain name has been live for over 48-hours, the new subdomain should resolve immediately.
If you liked this article, then please follow me on Twitter and Facebook.